Hi Everyone,
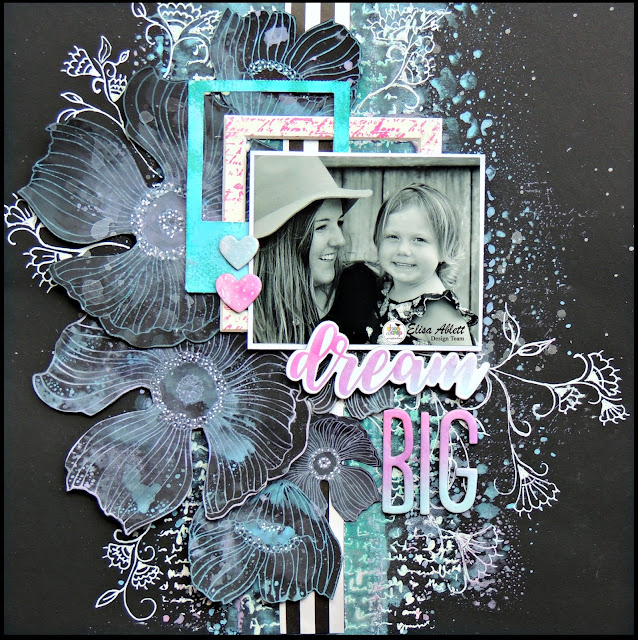
My turn up on the blog today with something a little different for me - BACK TO BLACK!
I don't normally do a black cardstock background but with the Distress Oxide Inks, an awesome stamp set and a cool technique or two and the I just wanted to try one.
Here is a step by step tutorial on how I made the gorgeous flowers with the distress oxide ink pads.
Step 1 - using a nice smooth black cardstock, ink the middle of your stamp with the 'wilted violet' oxide ink pad and the the outsides of the stamp with the 'picked raspberry'. Then using the smaller of the stamps use 'cracked pistachio' ink pad.
Step 2 - Stamp all over your black cardstock, as you can see the Oxide Ink pads stamp beautifully over the black and come out in almost chalky neon colours.
Step 3 - Smudge your ink pads onto your craft mat and spritz with water liberally. Then using a paint brush splat and drip the liquid onto your cardstock over the top of your stamped images.
Step 4 - Add a bit more colour to the page by turning the cardstock upside down and dipping the flowers into the liquid on your mat and smoothing the back of the page with your hand. A close up below.
Step 5 - I also used the paint brush to add shading and colour to the inside of the flowers.
Then lastly once they have dried, I fussy cut the flowers out and then using a white gel pen added white dots to the middle of the flowers as you can see from the close ups!
Here are the close ups for the finer details!
Here are the products used to create my layout from the Shop.
Prima Bloom Floral stamps only available in the one off mixed media mania kit.


Thanks for stopping by the blog today 😀
Elisa xx


No comments:
Post a Comment