First day back for term 4.
Lets hope its a great start to the end of the 2017 school year !!!
Today I'm sharing with you this months challenge which is based on "reflection".
I decided on a technique that I enjoy doing lately...
Mists and Acetate.
They work really well together and not so much mess to clean up afterwards which is a bonus!
Little Delight
Here is a couple of close ups:
I have used the May kit which features the Pink Fresh Live Collection which can be found here in the shop:
Pink Fresh
I have also completed this layout using the same collection:
So why not give this months challenge a go. Doing what you love !!!
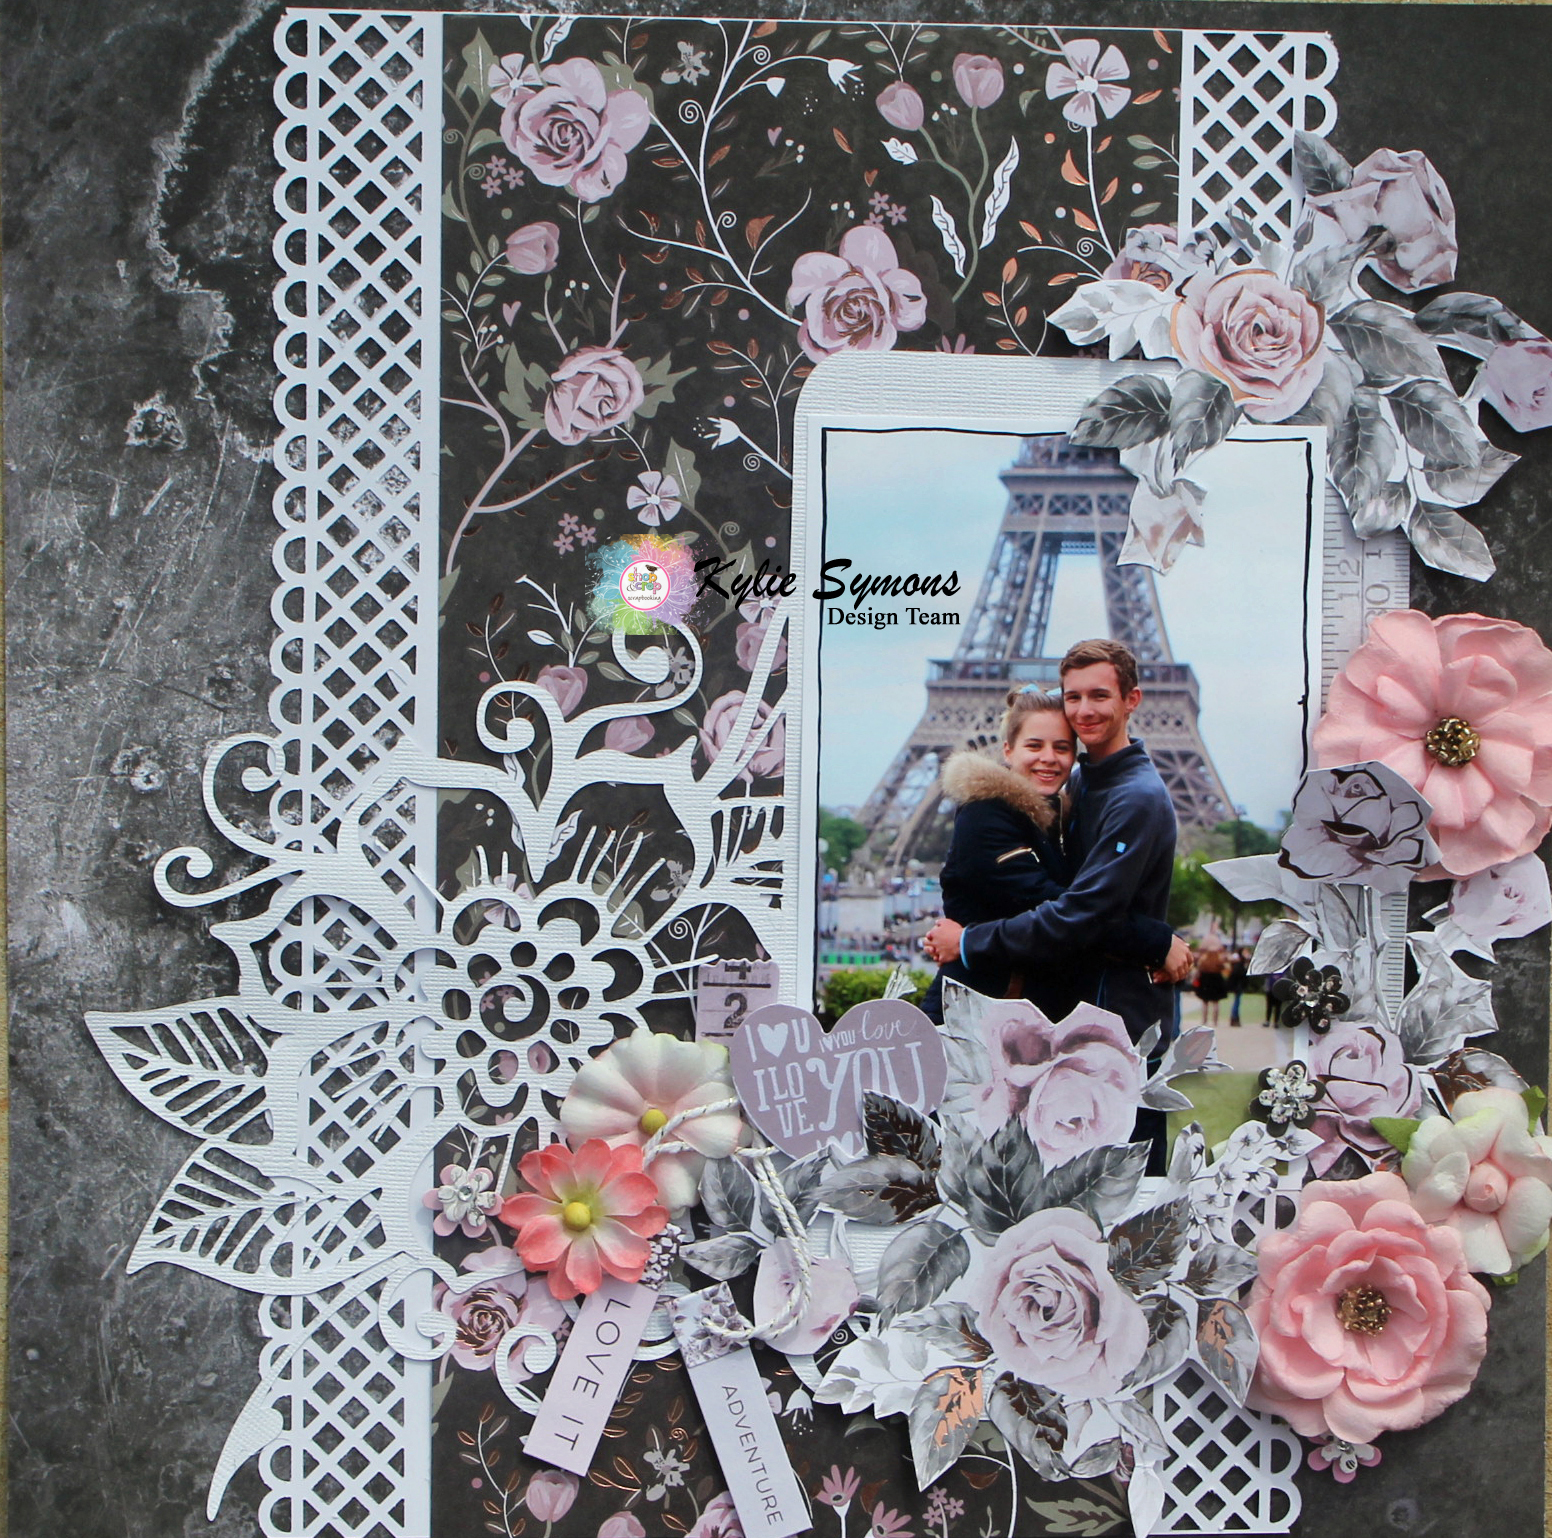
I also was given a Prima collection which was very romantic and girly.
So I decided to use a photo of Kayley and her boyfriend when they went overseas earlier this year to Europe.
I Love You
Prima have lots of goodies like flowers, papers, chipboard and stencils.
You can find all this here in the shop:
Prima
Here is a couple of close ups:
Sweet Smile
I have used the Dyluson paint for my background with a stencil.
The shop has some great bright colours and the have a Bundle pack with the New Colours.
You can grab yours here:
Dylusion Paints
Great Value !!!
Thanks for stopping by today. Hope you have found some inspiration to scrap or even shop!!!
Monday, 9 October 2017
Saturday, 7 October 2017
October Mixed Media Kit - By Elisa Ablett
Happy Weekend everyone!
Elisa here from the design team with my layout designed for the awesome 'october-2017-mixed-media-mania-kit' plus a few sneak peek photos of my 'experiments' with the mica powder prior to starting my layout.
The October Kit was designed by ME!!
and contains the following:
1 pot of Colour blast Singing The Blues Mica powder
1 pot of Colour blast Tangareen Dream Mica Powder
1 Scrapfx Stencil
1 piece of Cocoa Vanilla TOtally Rad PP
1 6x8' Cocoa Vanilla Studio You Rock Sticker Sheet
1 pieces of white mixed media cardstock
1piece of Black Cardstock
30cm of Green Tara Black Cobweb Ribbon
plus instructions to complete the layout below!
If you would like to purchase the kit, head over to the shop - october-2017-mixed-media-mania-kit-one-off-purchase and at checkout use the code EA5 for an added discount!!
Here is the awesome Scrap Fx stencil - Cool Circles
Two Colourblast Mica Powders.
Before i started the layout i wanted to have a little play with the mica powders to decide on which direction i was going to go, so i mixed the mica powder with modelling paste, gel medium, water and i was also going to emboss with it.
When using the Mica powder with gel medium i found the colour to be very strong and also dried to a glossy almost enamel finish. Also i added water to a small spray bottle and added a small amount of the powder in the water and as you can see from the left side of my experiment sheet, the results was a lovely shimmering spray.
I decided on using the powder mixed with modelling paste for my layout, modelling paste in my opinion is one of the best to put through a stencil and doesnt dull the colour of the powder too much.
So on a craft sheet i mixed the powder with a small amount of modelling paste and folded it over and over with a palette knife, adding more powder to increase the vibrancy of the colour. Then apply through the stencil on your layout.
Its a fabulous kit to learn more about stencilling and mica powder and mixed media techniques.
Here are my close ups!
Thanks for stopping by the blog today!
Elisa
xx
Thursday, 5 October 2017
Reflections - shaker cards
Hi everybody,
It's Donna here with some more cards using the Jillibean Soup paper that were in the September Cropaholic kit.
The theme for this month's challenge is Reflections, and looking at our favourite projects. I chose this card that I made about a month and a half ago because I love it, and because it highlights one of my favourite things- shaker cards. Here is the card I'm talking about.
First I attached the frame to the front of the card. This is optional, but I thought for this card, the pop of green would stop the card from being too pink all over.
Next, on the back of the panel, I laid down some adhesive tape (glue would be just as good) and cut a piece of plastic to just larger than the cutout window and laid it on top. If you look carefully, you can see the clear plastic in the photo below.
Once the plastic was in place, I added the next layer of adhesive. This time it was foam tape. You can do two layers if the bits that you want to shake around are thicker, as they were in the heart shaker card. The important thing is to not leave any gaps around the window, because the sequins will escape if you do! I had to be especially careful in this case, because the sequins, which come from my stash, are tiny, and also because the You are Amazing panel was only just bigger than the window.
I added some sequins to the middle of the window, then peeled off the middle tape, and placed the You are Amazing panel face down on the window. I then added a little more flat tape to the middle section.
Next, I peeled off all the backing and stuck the shaker element to my card, which was exactly the same size as the shaker panel.
Finally, I added the flamingos and flowers to complete the card, using a mix of flat and dimensional adhesive tapes.
Finally, here is the completed card.
Until next time, may you know how amazing you are,
Blessings,
Donna
@donnadoll74
It's Donna here with some more cards using the Jillibean Soup paper that were in the September Cropaholic kit.
The theme for this month's challenge is Reflections, and looking at our favourite projects. I chose this card that I made about a month and a half ago because I love it, and because it highlights one of my favourite things- shaker cards. Here is the card I'm talking about.
In this post I have also included a detailed how-to for making your own shaker cards or elements in your scrapbooking pages.
I have below a picture of all the elements I used to make another shaker card below. The only things not pictured are clear plastic, like the plastic that the kits come in, and adhesive tape. The important thing here is the rectangular white piece with a square cut out of it. You can make any shape shaker, like the small hearts which are all individual shakers in the card above. If you have a cutting machine, this step is easy, but the same effect can be made by carefully cutting a hole out with scissors.
First I attached the frame to the front of the card. This is optional, but I thought for this card, the pop of green would stop the card from being too pink all over.
Next, on the back of the panel, I laid down some adhesive tape (glue would be just as good) and cut a piece of plastic to just larger than the cutout window and laid it on top. If you look carefully, you can see the clear plastic in the photo below.
Once the plastic was in place, I added the next layer of adhesive. This time it was foam tape. You can do two layers if the bits that you want to shake around are thicker, as they were in the heart shaker card. The important thing is to not leave any gaps around the window, because the sequins will escape if you do! I had to be especially careful in this case, because the sequins, which come from my stash, are tiny, and also because the You are Amazing panel was only just bigger than the window.
I added some sequins to the middle of the window, then peeled off the middle tape, and placed the You are Amazing panel face down on the window. I then added a little more flat tape to the middle section.
Finally, I added the flamingos and flowers to complete the card, using a mix of flat and dimensional adhesive tapes.
Finally, here is the completed card.
Until next time, may you know how amazing you are,
Blessings,
Donna
@donnadoll74
Wednesday, 4 October 2017
Octobers Challenge
Octobers Challenge
Tania Ridgwell
My October Challenge Layout, one of my favourite techniques is too add a little Mixed Media to my background page/s
Donna Lewis
Favourite technique - making shaker cards. Well, one of my favourites! There are quite a few.
Kylie Symons
So why dont you give it a go, to go in the chance for a store voucher. It very simple to enter just load your take into the album here;
For your chance to win the store voucher you must load your entry into the corresponding album before Midnight 31st
October 2017 (EST).
October 2017 (EST).
Your entry is to be exclusive to the Shop and Crop only.
Your entry be based on the challenge and not incorporated with other challenges
Tuesday, 3 October 2017
Announcing the New Team.............
Good morning how are you all? I am here today with some very exciting news.... its time to introduce you to our new Design Team.....
Tamara Buckler
Kylie Powell
Hi everyone , it's Kylie here .. I am a nurse , a lover of papercrafts and I along with my husband own Shop and Crop Scrapbooking . My love for papercrafts started in 2000 .. in 2011 we saw the opportunity to buy Shop and Crop , initially a brick and mortar store with an online presence , in 2015 we closed our bricks and mortar store , and relocated the business back to our residence to concentrate on the kit side and our online store .
Allowing us to offer great deals on all the popular Scrapbooking supplies , making this hobby more affordable. I love nothing better than to share my love with others through classes , our Crop days , retreats and Papercraft events !!
Rikki Graziani
Facebook: https://www.facebook.com/JustToObessed
Instagram:
RIKKIG8o
Pinterest: https://www.pinterest.com/prissy80/
Kylie Symons
Elisa Ablett
Tanya Froud
Tania Ridgwell
Donna Lewis
Deena Otway
Tamara Buckler
Belinda Lowe
What do you think? We have a great, new team !!! We look forward to inspire you all.....
Till next time have a creative day
Rikki
xxxxx
Monday, 2 October 2017
Winner Winner Chicken Dinner......
Good morning, today we are announcing last months winners I do I would like to say a very big thank you to those who entered last months Sketch challenge your work is amazing!
Honourable Mentions:
And the Winner is:
Judy Willey
September Shop and Crop Challenge
SKETCH
Karen N Kerry Clayton
Judy Willey
Congratulations, can you please contact the Shop and Crop Facebook page with your Name and Email so we can organize your store voucher.
Sunday, 1 October 2017
Saying Goodbye doesnt mean forever
Today we say Goodbye to some of our Design Team....
Thank You for your hard work and dedication to our team, you will be missed greatly.
Subscribe to:
Posts (Atom)