Showing posts with label Lizzy Crust DT. Show all posts

Friday, 22 September 2017

KAISERCRAFT OCTOBER KIT - Rose Avenue Collection.

Hello there Shop and Croppers! How is your day going? Can you believe how fast September is going? It is crazy!! And here I am, showing you some sneeky peeks at the wonderful Kaisercraft October Kit which you can find in the SHOP AND CROP KIT SUBSCRIPTION SECTION IN THE SHOP!  Now trust me when I say, this is such a pretty Kit and I was just blown away by the gorgeous things in this kit..

I have created 3 layouts with instructions, yes 2 layouts and a bonus layout with instructions, and I can only show some little peeks, but I am sure this will be enough to get you inspired to put this kit on your list for October scrapping!! There was also lots of product left over for more creating, so I created two simple cards that I am sure will come in handy sometime to send off to a special someone.

So take a little look at these closeups, and do yourself a favour and put this kit on your list!

Layout 1 closer views..


Such pretty papers and embellishments in this kit!!

Some closer views of Layout 2.

I love the gorgeous metal charms in the kit!!

Bonus Layout 3. some closer views.

Layering of collectables in the Kit.

So much prettiness in this Kit!!!

And I would like to share the two simple and quick cards I created with this Kit.


I used a butterfly punch from my supplies, but you could pop a little flower on the card if you dont have a punch.

I hope you have enjoyed the peeks at this lovely Kit available in store in October..  I think this is one of my favourites and I hope you will love it too..  Pop over to the Shop and Crop STORE HERE to check it out. And dont forget to pop LC5 on your order for your $5.00 discount!

Happy Scrapping!!


Tuesday, 29 August 2017

AUGUST CROP KIT - Lifes a Beach & Life is Sweet!!

Hello there, 
How is your day going? The days are flying by and soon we will be into Spring..  The warmer days and the colors of Spring make Spring one of my favourite times of the year!
However, I received some gorgeous papers that took my winter blues away in the form of the AUGUST CROP KIT which is a one off purchase which you can find in the SHOP AND CROP SCRAPBOOKING STORE HERE!!!  This is an amazing kit with colorful summery papers and lots of die cuts and embellishments in the ephemera pack to choose from.  I have two layouts to share with you and the first one has some simple instructions for you to create a layout too.

Everything I used is in the kit except for some old cardboard that I put under my photo for some dimension..  or foam tape would work too..

This is the layout that I created.

Life's a beach..


The photo I have used was taken at the Warwick Resort Fiji, so any of your beach holiday or travel photos would be fabulous for this layout..

Cut the strip off Item#2838 Cabana. I will be making a frame from this paper. Measure 6 cms around on each side making the marks on the pink stripey side, I am using the leaf side of this paper.

Using a craft knife or a box cutter cut carefully along the lines to create the frame for the layout. The middle section can be kept for another project.


Lightly distress and ink the inside edges of the frame.

I am using the Item #2341 Pool Party as the base of the frame, the green side. So to use the paper efficiently  I will cut out the outside and this will give  a frame to use on another layout. So I will do what I did before and measure 5cms around the Item#2341 Pool Party on the stripey side. Just to test that it will fit under the leaf frame lay the Pool Party paper under the leaf frame and make sure I can't see any marked lines.


Cut out carefully, and I am using the green side of the paper on this layout.
Run some thin double sided tape around the edge of the green paper.


Adhere under the frame. This is what the base will looked like.

I adhered some old cardboard under my photo and this was placed in the middle of my page.  I cut the large gold dot flower in half to place half on the top of my photo and the other half on the bottom right of my photo. I cut a strip of hessian 15 cms long and then in half width ways..  Pull some strands of hessian to add a distressed look. Tuck the hessian slightly under the photo along the bottom of the photo. Cut approx 8 cms of the string for each tag and add to the tags.  I added some journalling to the journal spot as well as a shell chipboard and also used a strand of hessian and made a bow. Add some banners on the side, a hibiscus flower and leaves on the right bottom of your photo, and some chipboard around your photo..

And some close ups to show details.


And a reminder of the finished layout..

Life's a beach.

The second layout I have created using this fabulous Kit uses the green frame left over from the first layout which is put on a piece of white cardstock from the Kit. I cut 4 rectangle pieces of paper from Item#2839 Summer Fun 4cms by 18cms and used two of each side. These 4 pieces of paper were placed evenly spaced in the middle of the page and then my photo was placed in the centre of the  layout. The layout  was embellished using die cuts and  items from the ephemera pack.  The products that I used that were not in the Kit was glitter glue, a flower punch, foam tape, an edge punch and a black marker.

Some closer views.
A cluster of embellishments..

Is that Flamingo cute or what!!?? The flowers were created using a flower punch and papers from Item#2837 Feeling Good.

Check out that cool ribbon!!!

Life is sweet!
I have used a black marker pen to outline the edges of the papers to make them stand out more. Such summery and pretty papers in this kit..  There is still more product left and I will share with you what else I create in my next blog post..  You can purchase this wonderful Kit at the SHOP AND CROP SCRAPBOOKING SHOP - HERE!!! And remember to pop the code LC5 on your order for a sweet discount of $5.00.

Have a happy scrappy day!


Sunday, 23 July 2017

Bonus Layout - My Minds Eye Kit, and Dina Wakley Scribble Sticks.

Hello there,
How is your day going? Right now as I am preparing this post it is cold outside... but hey great reason to stay inside and get some products and do some creating... And that is when the fabulous Kits from SHOP AND CROP SCRAPBOOKING come in so handy...  It is all there ready for you to get creating!!

In my last blog post which you can see HERE!!!  I shared two layouts created using the  MY MIND EYE - In Bloom Kit which you can get at the Shop HERE!!! Well I have created another layout to share with you from the products still in the kit.. These kits have so much product that even though you get the instructions for 2 layouts there is still more creating to be done! So I would like to share the layout I created with you with some simple instructions for you to follow to use some of the remaining product after you create the first two layouts.

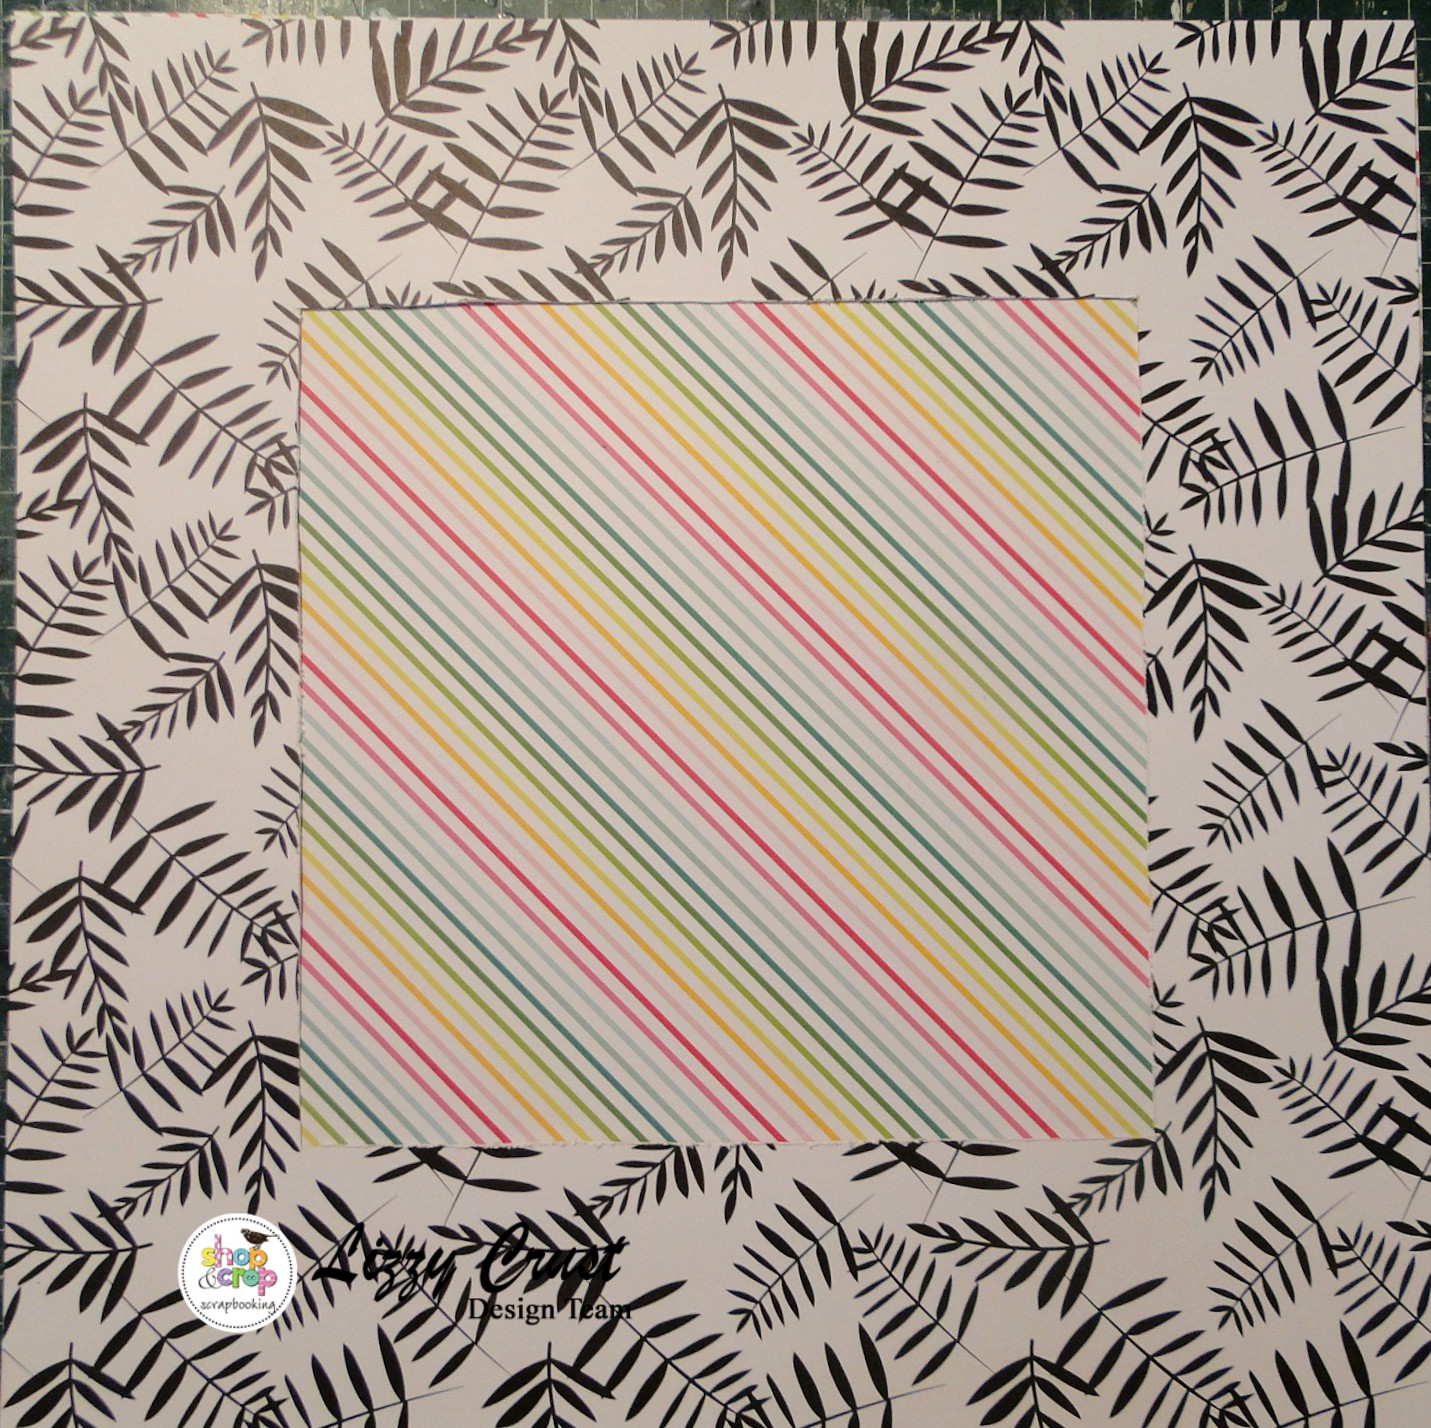
Take the In Bloom paper #BKM004 and cut off the bottom identification strip. I always keep these strips. Measure paper 20.5cms from the bottom (to the pink stripe) on the paper and cut off the top.

This is what you start with.
From the Kaisercraft Coconut CD101 cardstock cut 2 pieces of paper 5cms by 30cms. The two white cardstock pieces go top and bottom of the layout. I then got a scrap page  to use as a base (you wont see this) and laid the design down on this and adhered the papers down tucking the white cardstock under the floral paper.
I then got the Kaisercraft cardstock Licorice CD102 and I used a paper punch to cut a decorative edge.. you can tear the paper or use decorative scissors if you dont have a punch to use. I then put these decorative edged papers either side of the rose paper.. #BLM004. This black edge just adds some pop to the layout. You could use some lace or washi tape from your own supplies if you like.
I cut my 10cm by 15cm photo down a bit to 8cm by 11cm or you could even go smaller. I matt the photo on the leftover piece of #BLM004 using the floral side. I then matt the photo again using the black cardstock.. Double Matting a photo really helps the photo to stand out on your layout.. This is what your layout should look like at this stage.

I put some scrap cardboard under my photo to lift it up, foam tape would be suitable to use also.
I put the strip from the bottom of the paper #BLM004 that we cut off at the beginning of the instructions and placed it on the right bottom corner of the page. I then got a chipboard sticker from the chipboard sticker pack "This Moment" and placed it down the bottom of the left hand side.
I then used some stickers from the sticker sheet and some more chipboard stickers to embellish my page.  I used another strip from a different page and stuck it up the top left hand of my page.
This layout is simply designed and embellished as I feel if you have something big and bold on your paper like the rose for example, dont overcrowd the page but let it be a feature. You also dont have your photo trying to compete with it to stand out..  The paper feature and the photo should compliment and balance each other on the page.

Some closer views of the finished layout.
I love these gorgeous little floral chipboard embellishments, they add some dimension next to the gold stickers.


And the finished layout.
I added a little bit of journalling on my layout to finish it off. Remember to check out this kit and all the others over at the SHOP AND CROP KIT SUBSCRIPTION SECTION OF THE SHOP..

A while ago I purchased some DONNA WAKLEY MEDIA SCRIBBLE STICKS from the shop..

Now let me say I am not very experienced with water colors as such but like many of us, I got these to try. Well I did try..  I had a play with them...  They are easy to hold and the colors are vibrant,  I messed around to see how they go onto cardstock, no gesso just cardstock.. and this is what I did..


 They blend with water easily. The blue color I drew on the paper and added water to see if I could draw the color along.. and the pink color I scribbled on some clear plastic and added water and make a liquid and patted the cardstock on the color.. this came out lovely..  and then I used a stamp and stamped it around my page..  you know.. just playing...  which is what we should do when we get a new product... just have some creative free fun..
 Well then I wanted to see how they go as a water color type product.. I found some really old paper from Rusty Pickle... (what a great name by the way!!!) and just used the stick to draw around on the image and then added water.. my first attempts dont look very good...  but as I played around I was learning how to draw the color into the image and also trying to have light and shade...


This is the dried page, they sure do keep the vibrancy of the color!


 So again I confess I am still learning about water color products, but my goodness this was such fun.. I will definately have another play with this wonderful product, I hardly made a dent in the sticks, they will last a long time..  I love how pretty these colors are when dry and my only complaint is that I wish I had more shades to play with!!! You can purchase your DINA WAKLEY MEDIA SCRIBBLE STICKS in the shop HERE!!!  and remember to use this code LC5 to get a discount of your order..

Until next time.. get creating!


Sunday, 9 July 2017

MY MINDS EYE - IN BLOOM KIT.

Hello there,
I hope you are having some good July weather, for me, the days have been quite glorious but the nights have been getting chilly!!

I would like to share with you two layouts I created using beautiful papers from My Minds Eye and this kit was also available at the Brisbane Craft Show in June.. If you missed the kit then, you can get this kit at the SHOP AND CROP KIT SUBSCRIPTION   at the Shop.

My first layout is suitable for a 4 by 6 inch portrait style photo and also uses the chipboard stickers and brads contained in the kit..  I loved the bold patterns and beautiful chunky chipboard stickers.

Some closer views..


The Floral Brads are so pretty!!
I loved the black paper with the gold spots... so elegant!!

BE YOU TI FUL.

Such pretty papers in this kit, and you get an abundance of embellishments to use.

The second layout uses a 4 by 6 portrait style photo and I was inspired by the elegance of the papers to create a layout using a Wedding Photo of my beautiful Mum..

Some closer views.
We create a lovely bunting across the top corner using the string beads and mini roses..

I loved the sweet gold chipboard hearts too..


Today.

I love the mix of black and gold and pink in the papers, the lace in the Kit adds such a feminine touch and the gold bead trim makes a wonderful bunting too..

You can find this Kit in the SHOP AND CROP KIT SUBSCRIPTION section of the SHOP AND CROP SCRAPBOOKING SHOP  . This kit has so much in it, I am sure I will be able to get a few more layouts created with these gorgeous My Minds Eye papers and embellishments.

There is so much to see in the SHOP AND CROP SCRAPBOOKING SHOP and beautiful Kits being added each month. Remember to use my code LC5 for a sweet discount on your order..


Friday, 23 June 2017

Mixed Media Fun!!

Hello There! How is your week going? I hope things are going well for you!

As the blog title suggests, I am creating with some MIXED MEDIA PRODUCTS you can find HERE!!!  There are Sprays and Dusts and Glazes!! So many products to choose from!!

Today I have been playing with some Lindys Stamp Gang Magicals and the color I had was Screamin Banshee black!! Which is part of this set which you can find in the shop HERE!!!!!

I prepped my page with gesso and when that was dry I added torn book paper and random die cuts and plasterers tape..


I then sprinkled the Magical powder very sparingly with a paint brush where I wanted some color to come.


Then I sprayed some water and watched the magic happen!!

I added more sprays of water and tilted my paper from side to side to make some drips.. I added more Magical powder to made some deep color in places..

I allowed it to dry overnight and the next day it had a wonderful sheen!!


Then I added my photo and embellishments. I had another product to try and it was ENAMEL ACCENTS in the store HERE!!! and these come in an amazing array of gorgeous colors...  I had the Blue Ribbon color which is such a fresh blue..

I added some Blue Fern chipboard which I painted with black gesso around my page as well as die cutting a frame.


I decided to use the Enamel Accents to add some dots for extra color and dimension...

I love the added interest the bright pops of blue add to my chipboard..

The dots stayed lovely and plump and raised... I love the look of them!!!

and my completed page..

Dream..
What creative fun you can have with Lindys Magicals and Enamel Accents...  Check them out in the store Magicals... Here.... and Enamel Accents ...Here...
Other products I used on my layout from my own supplies was the Chipboard, die cuts, plasterers tape, Dusty Attic flowers, cardstock and Kaisercraft words..

The second layout I would like to share with you was created using a little pot of color from COLOR BLAST which you have to add water to and mix to activate the color... The color I received was a pretty green called Envy..

I decided to try using a thick paint brush and make sweeping strokes across my page making the color go from a lighter shade to a darker shade by going over the place I wanted it darker over and over.. I really like how the paint went on my page, I did not use gesso and the color just sat on the cardstock..

some closer views..


The top of my page with the paint lightly sweeping across the page..

The bottom of the page where I intensified the color.. A simple little bit of stencilling to add some texture..
and my layout.

Memories..
This was the first time I have used the Color Blast Shimmer pot and I must say I love the way it goes on the cardstock and it leaves such a pretty sheen too... Simply leave the lid off for the pot to air dry and once dry then pop the lid back on and it will be ready to be charged up for the next time...
Other supplies I have used for this layout include white cardstock, Kaisercraft Papers Wildflower collection, memory box die, Heidi Swapp stencil, modeling paste.  Color Blast have an amazing range of products which you can check out in the Store HERE!!!

Thank you for coming by and I hope you enjoyed viewing my layouts as much as I enjoyed creating them... Remember to pop  the code LC5 for your discount on your order from the SHOP!!!!

Until next time,
Happy creating!